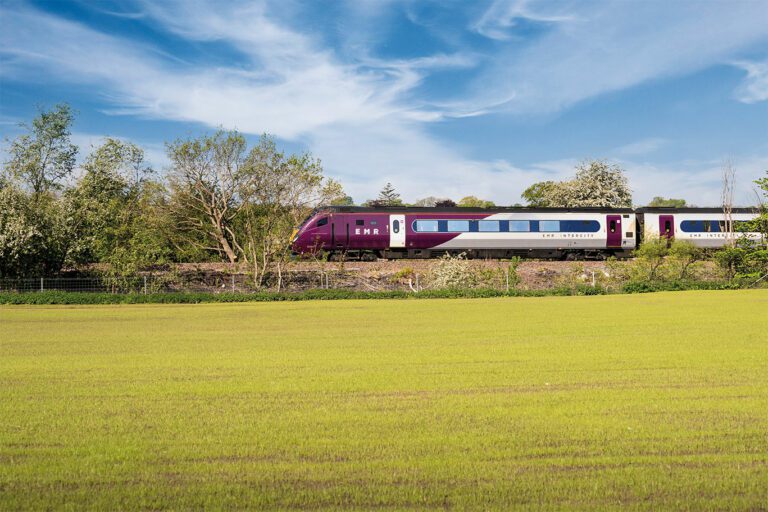
East Midlands Railway
Node4 is delighted to have provided a digital transformation solution, bringing SD-WAN connectivity for 104 East Midlands Railway sites.

We’re not just here for the cloud technology, the services and solutions, or even the digital transformation – Node4 is here to help UK businesses move to secure managed services and cloud-based platforms that will truly make a difference to your customers and people…
Whether that’s in the products they buy, the services they consume or the places they work. This is where technology can really transform an organisation, and this is where Node4 solutions can really make a difference. Our expertise lies in digital transformation that supports your business to achieve its aims. Looking to speak to an expert about our services? Contact us today and learn why you should choose Node4.


“To meet our requirements, we needed an IT partner which offered excellent cloud services, well-managed security credentials, physical WAN connectivity, and backup and recovery services to create a truly modern workplace. We found that Node4 was the only provider which could meet all aspects of our brief. Since partnering with them in August 2020, the team has been attentive to our needs and enabled a transformation in our infrastructure.”
“It was important to us that we gain a partner that works as an extension of our core IT team, and that is what we have found in Node4. As we move into a cloud-driven approach, it is reassuring to know that we have a fully scalable digital roadmap that will support our digital transformation initiatives, ensuring that our members are provided with a modernised and always-on experience.”